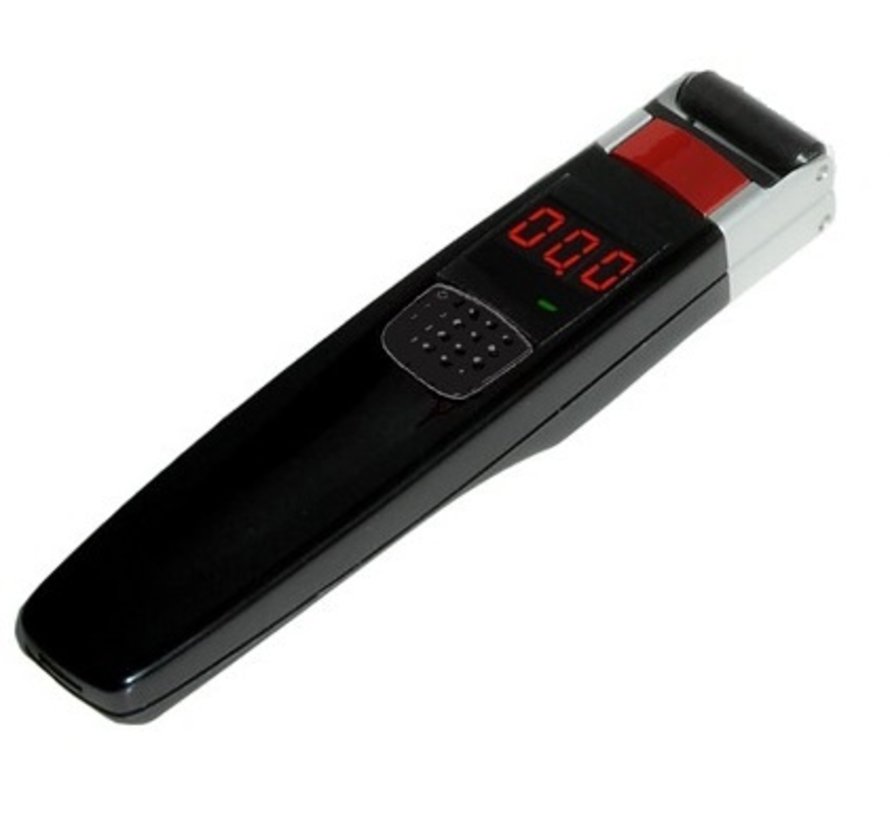
Roller pressure indicator
Featuring the latest nanotechnology, the Pressure Indicator makes rapid measurement of nip pressure between rollers possible for the very first time.
As the 5 x 5 mm pressure-sensitive area moves through the nip under pressure, the instrument registers the absolute pressure level thousands of times. And the highest value – peak pressure – remains displayed.
Calibration is easy, just press the control button once.
Important to control nip characteristics of process critical nips
Using Digital Nip Measurement is quick and easy. You can set your roller nips accurately and check their status frequently.
The process is repeatable and operator-independent. The measurement data facilitates statistical trend analysis and continuous process improvement, ultimately leading to improved product quality and process control, lower product cost (less scrap) and more production time. Increased job satisfaction is an additional bonus: no more trial and error!
A roller nip
The nip generates a PRESSURE CURVE while determining nip characteristics. The pressure curve is defined in terms of Nip Pressure and Nip Width.
- The Pressure Indicator measures peak pressure in Newton/cm2.
- The Nip Width Indicator measures nip width in millimeters or inches.
The life of a roller pair
Rubber is a “living” material and ages from constant expansion and contraction during its service life. It can harden, soften, shrink or swell when affected by temperature changes, chemicals, the extraction of plasticizers, number of revolutions, production speed and change in bulk elasticity (E-module).
Inevitably, the nip pressure curve changes too. What was originally the correct nip setting becomes progressively inaccurate and may lead to process deterioration and instability.
The consequences of a change in the characteristics of the rubber vary, according to whether the roller pairs are fixed or whether one of the rollers is floating, as well as the nature of the change


